Ear irrigation is a procedure used to clear earwax from your ears. Earwax occurs naturally in your ear canals. Though it protects your inner ear, excess earwax can cause problems such as blocked ears and difficulty hearing.
Your inner ear is very sensitive, and if earwax builds up, over time it can cause damage to your ear canal or eardrum. Your health care provider can perform ear irrigation in their office, or you can irrigate your ears at home with the right equipment.
Ear irrigation can help to alleviate symptoms such as earache or hearing loss. However, you must make sure to do it safely, otherwise, it can cause damage to the inner ear. Here, we will explain how earwax can impact your ears, what to expect from professional ear irrigation, how to perform ear irrigation at home, and what to do if ear irrigation does not solve your problem.
When Earwax Becomes a Problem
Your body produces earwax, or cerumen, to protect your ears. It lubricates the inner ear, and protects it from bacteria. As you talk and chew, your jaw moves. This usually removes old wax from your ear.
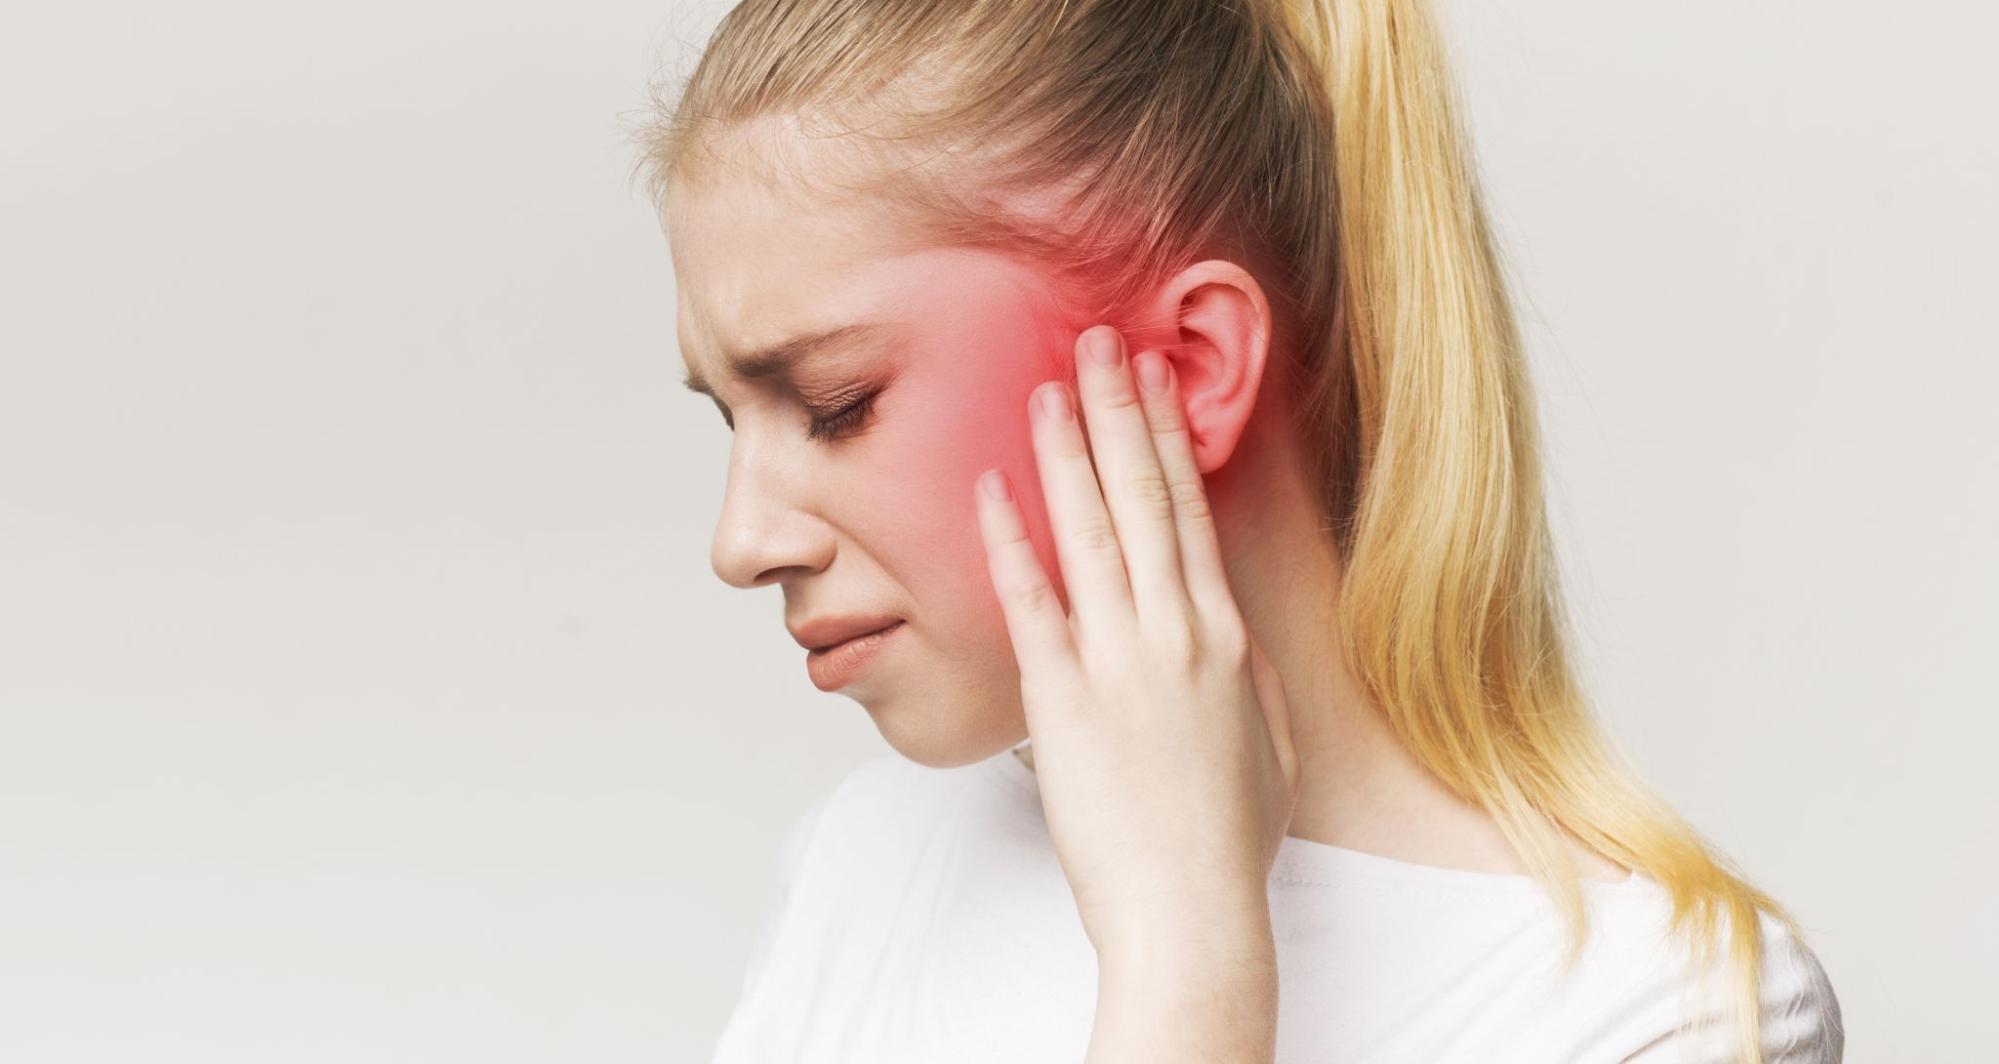
But sometimes, earwax can build up in the ear canal to such an extent that it becomes impacted — also known as cerumen impaction. For many people, this may never happen. But when it does, it can cause pain and problems with hearing. Symptoms of earwax impaction can include:
- Prolonged or intermittent earache
- Oily discharge from the ear
- A feeling of fullness in the ear
- Pain in your head and neck
- Difficulty hearing
- Ringing in the ear
- Itching inside the ear
- Dizziness or vertigo
If you’re experiencing these symptoms due to impaction, ear irrigation is a good option for earwax removal.
What to Expect from Professional Ear Irrigation
When you go to see your doctor for a professional ear cleaning, the first thing you will discuss is your medical history. You must alert your doctor of any current medical conditions because some of them may prevent your doctor from irrigating your ears. These include:
- A compromised immune system
- Swimmer’s ear
- A perforated eardrum
- If you wear hearing aids
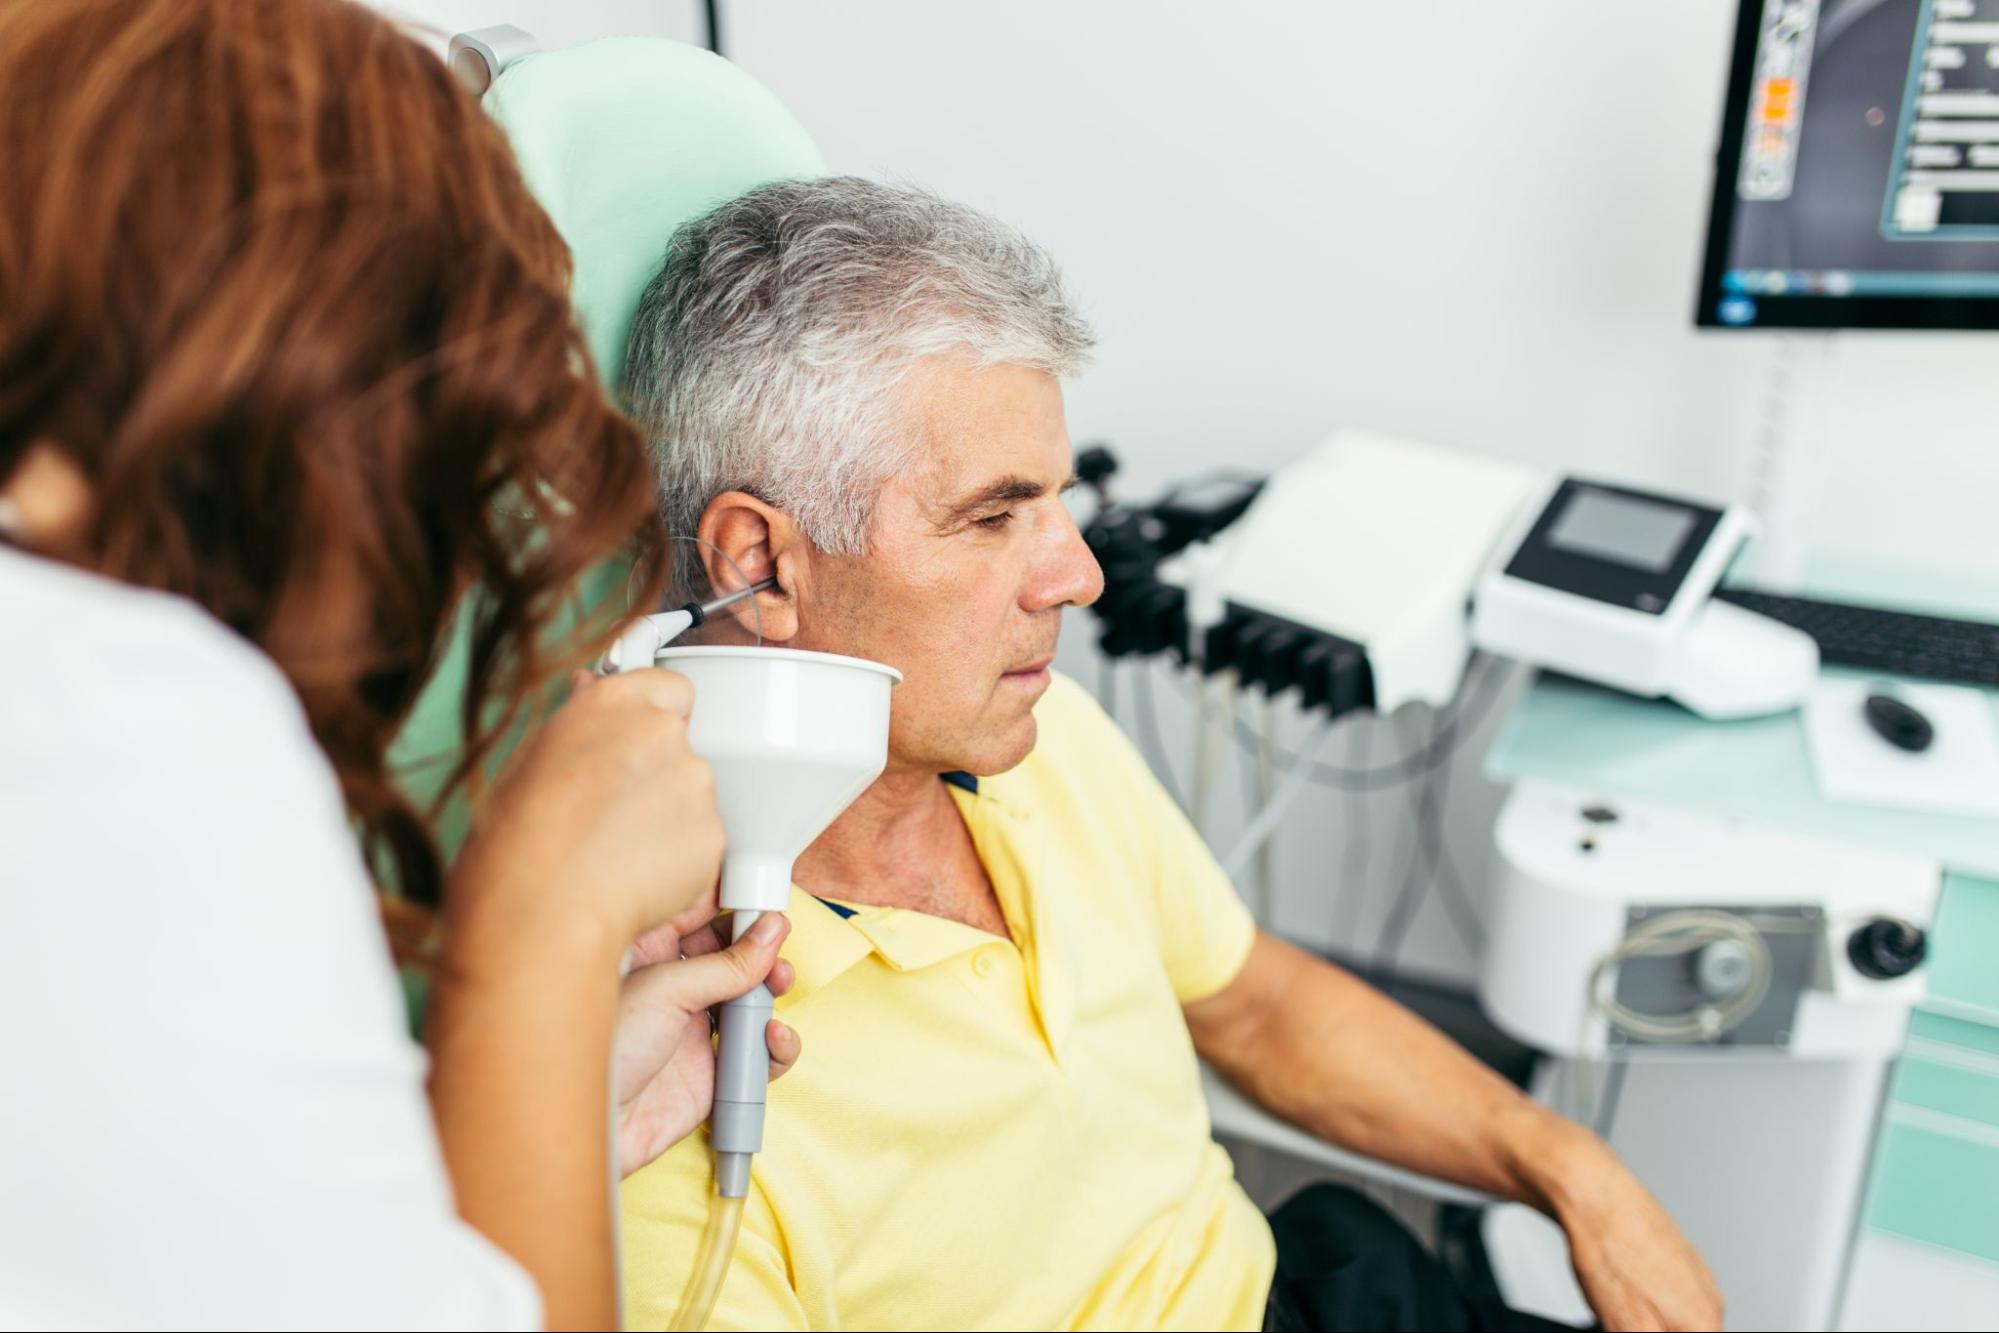
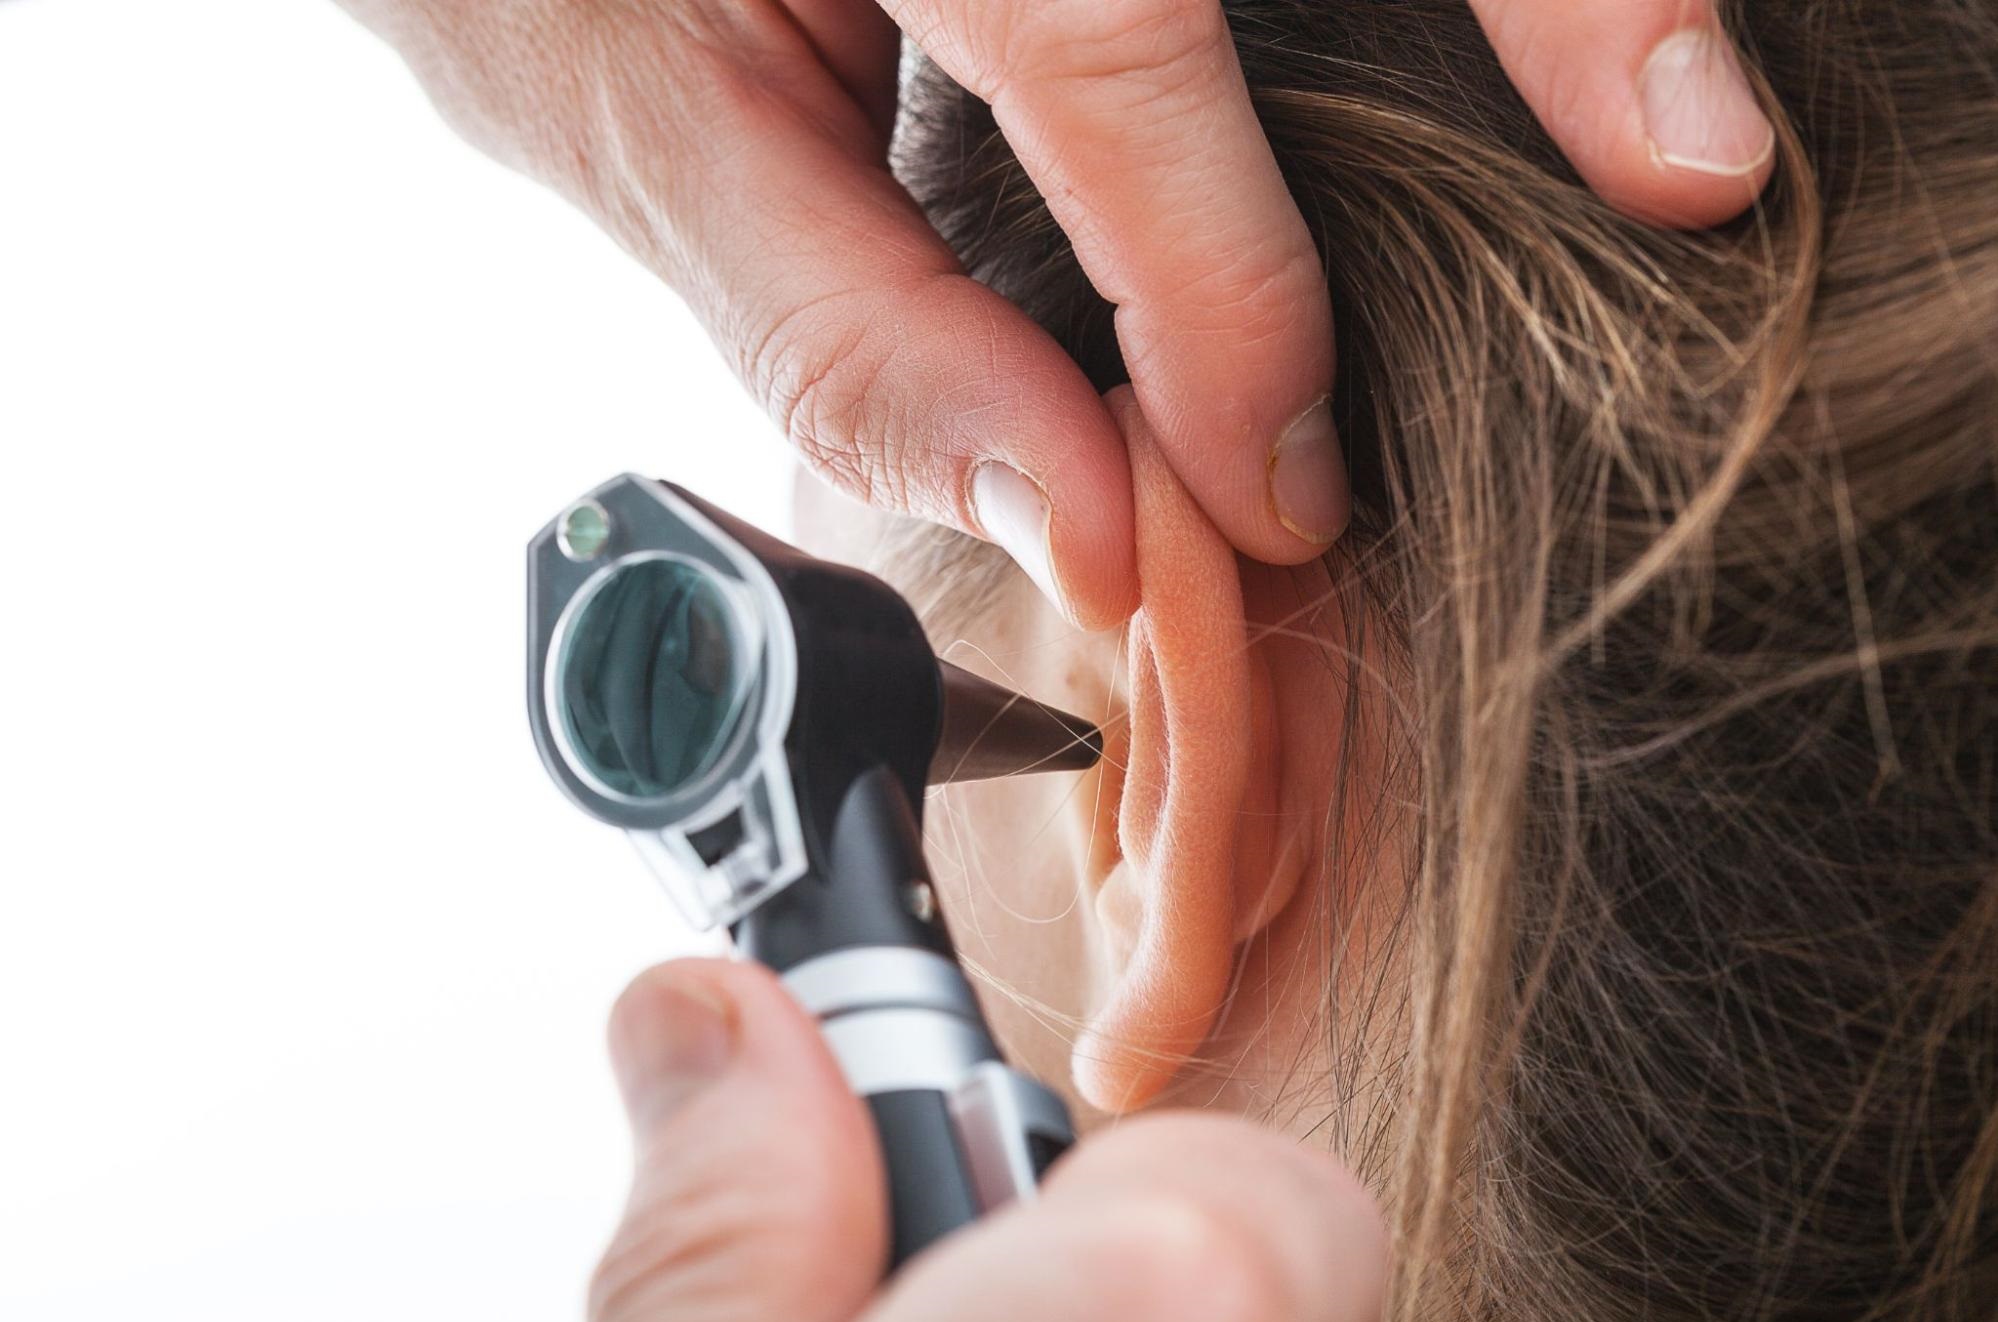
Before they begin the irrigation, your doctor will take a look inside your ear with a device known as an otoscope. An otoscope shines a light inside your ear and magnifies the images. This will allow your doctor to see where the earwax has accumulated and make sure that ear irrigation is the right treatment.
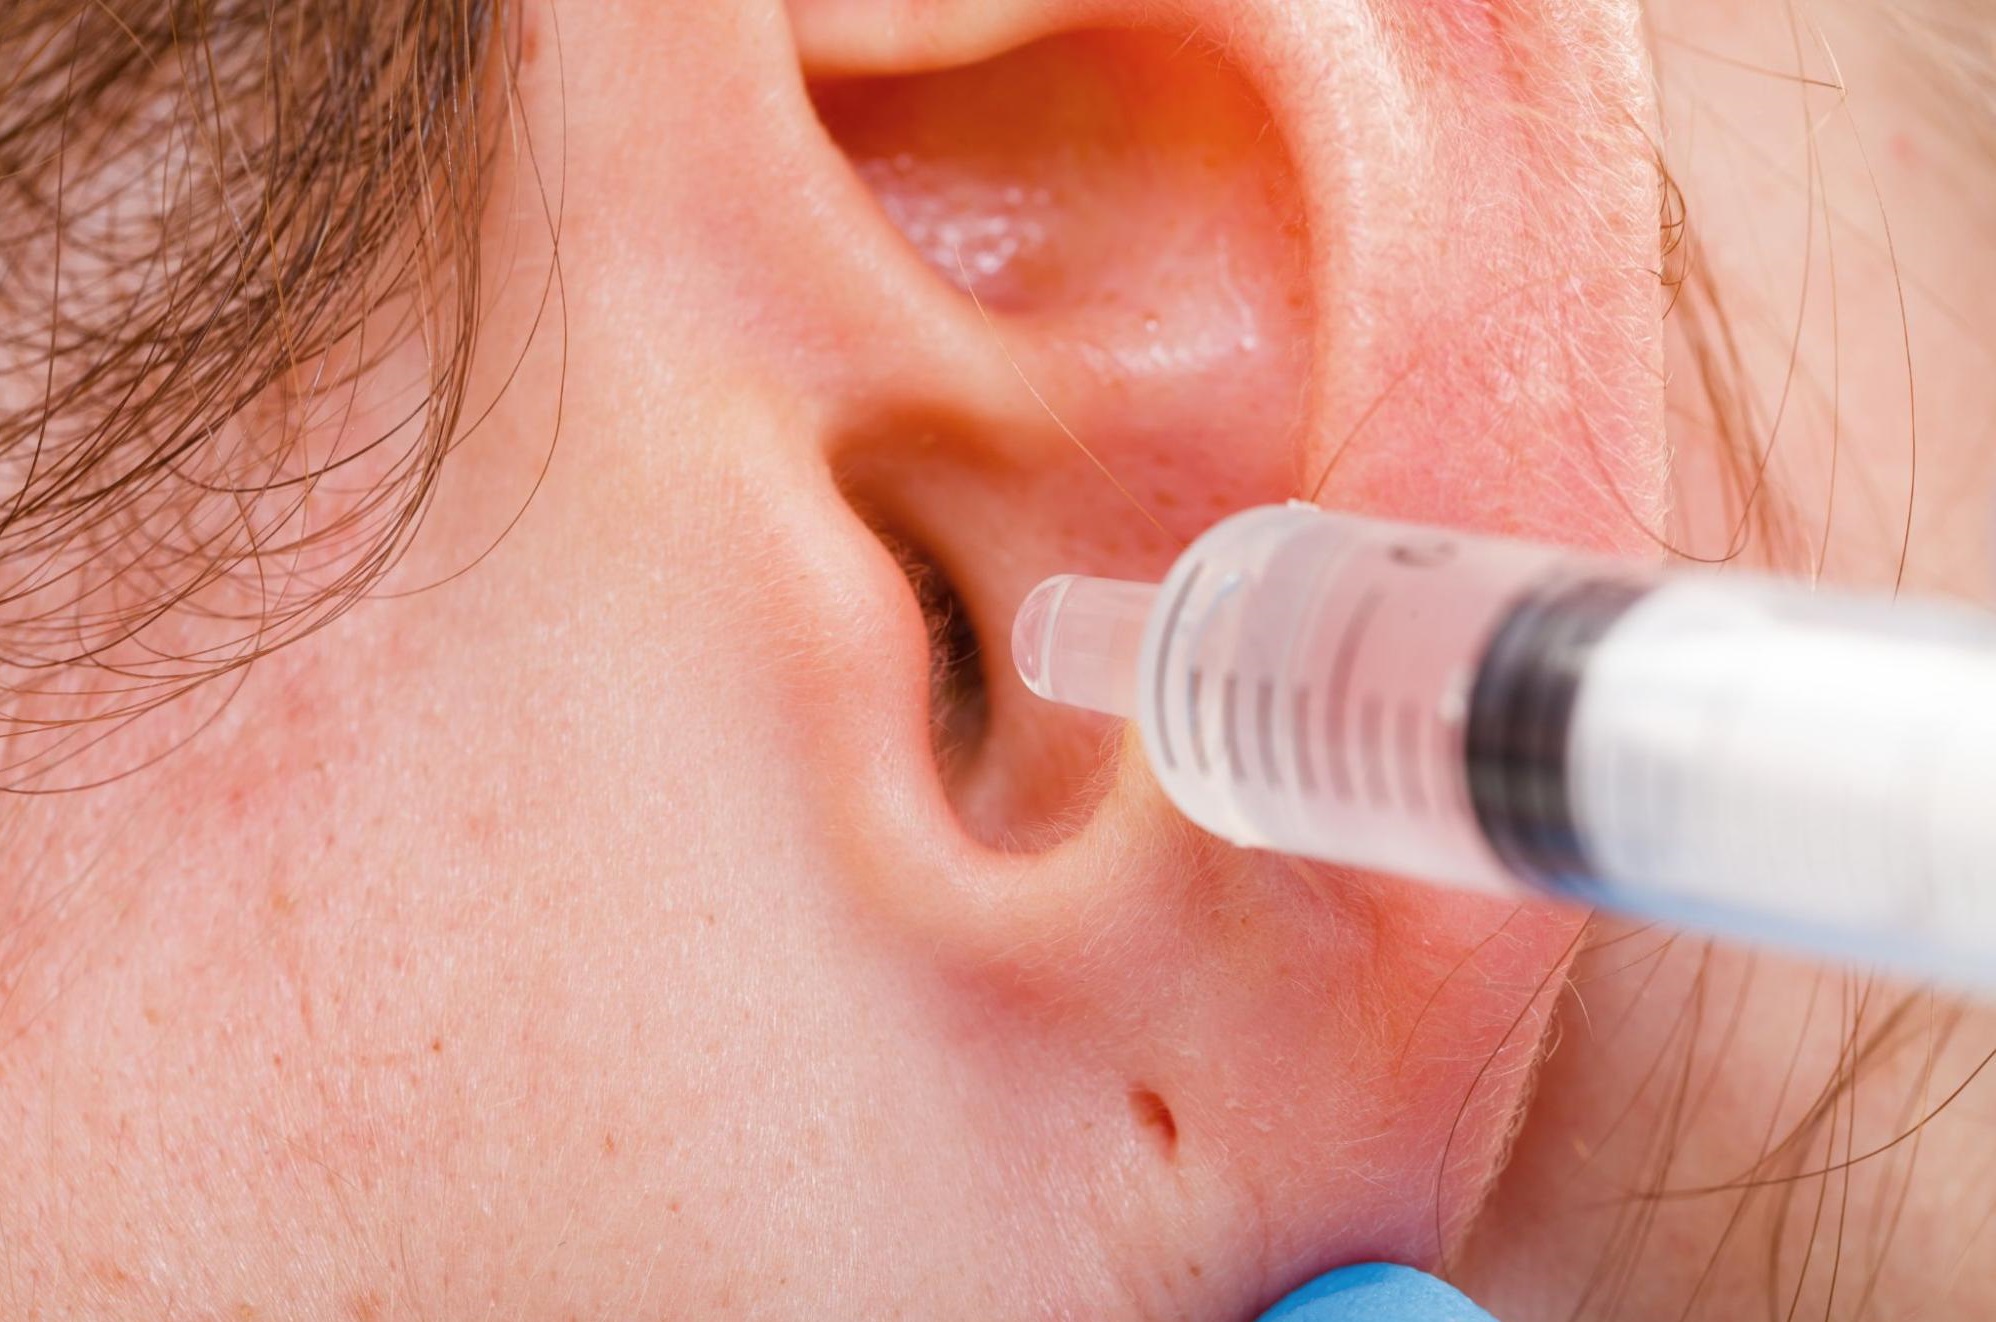
Using a syringe, your doctor will gently pump a warm saline solution into your ear. The fluid will soften the buildup of debris and help to release it from your ear canal. The doctor will be very careful not to push the earwax deeper into the ear canal, where it could cause more problems.
Once the irrigation process is complete and your doctor has removed all the earwax, they will clean and dry your ear. At this point, your ears may feel slightly sensitive. This is completely normal, and the sensation will pass within a few hours. If you have a history of ear infections, your doctor may give you some protective ear ointment to use for a few days to prevent you from feeling any discomfort.
How to Perform Ear Irrigation at Home
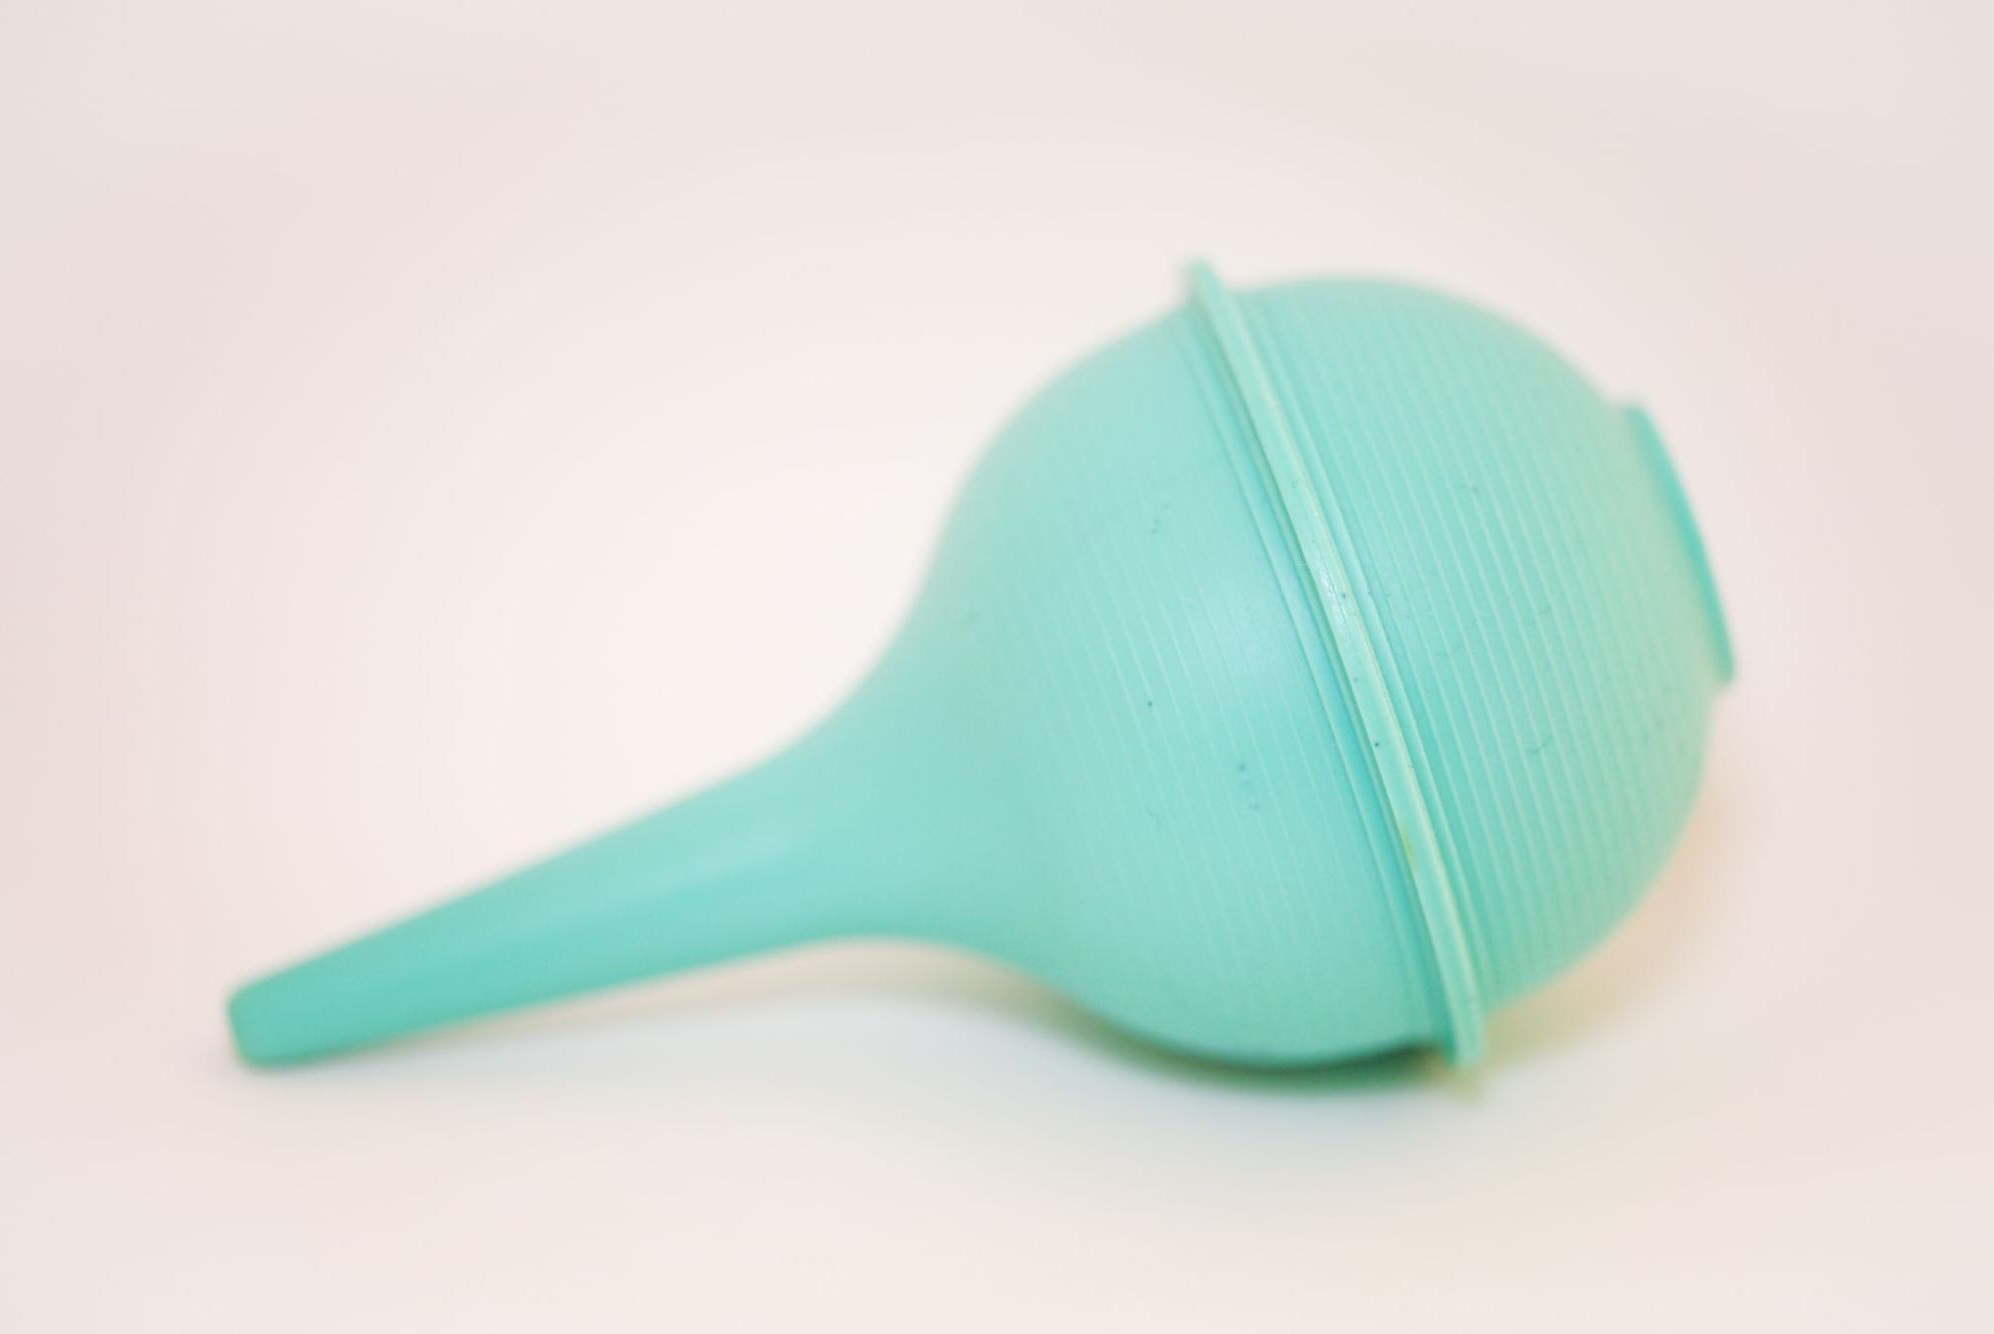
If you intend to clean your ears at home, you will need to purchase an ear irrigation kit. They are available online or at your local pharmacy. The kit contains either a 20-millimeter syringe or a bulb syringe. You will fill the syringe with warm water and use it to flush out the earwax. This is how to do ear irrigation at home safely:
- Wash your hands thoroughly.
- Place a towel over your shoulder to collect drainage.
- Fill the syringe with warm water (room temperature).
- Gently pull your ear backward to open it fully.
- Insert the tip of the syringe into your ear.
- Slowly depress the syringe, and allow the water to enter your ear.
- After flushing, dry your ear.
Depending on the amount of wax in your ear, the procedure can take up to 30 minutes per ear. If you feel any pain or discomfort, you should stop the irrigation immediately and seek medical advice.
To make ear irrigation easier and more comfortable, you can begin to soften your ear wax a few days before the procedure. You can do this by using over-the-counter ear drops or mineral oil.
Do not attempt the following:
- Removing earwax with cotton swabs
- Using ear irrigation to remove a foreign body
- Irrigating a young child’s ears at home
Side Effects of Ear Irrigation
Some people may experience side effects from ear irrigation. Though they may be minor, they can be uncomfortable. Possible side effects include:
- A brief feeling of dizziness
- Discomfort within the ear canal
- Ringing in the ears (tinnitus)
When side effects do occur, they typically resolve within a day or two. If you experience side effects that linger after ear irrigation, you should talk to your physician. If ear irrigation causes you severe pain, you should seek medical advice immediately in case you have ear damage.
The Advantages and Disadvantages of Ear Irrigation
Earwax removal by irrigation is not suitable for everyone. For example, you should not try this procedure if you have problems with dizziness or vertigo or if you have recently had ear surgery or an ear infection. You may find the sensation of having water in your ear strange or mildly uncomfortable.
The advantages of ear irrigation include:
- The procedure is safe when done properly.
- It’s relatively quick to perform.
- It is effective and leaves no wax behind.
The disadvantages include:
- It may push the wax further into the ear.
- Syringing too quickly can cause eardrum perforation.
- It may cause temporary hearing loss.
Bear in mind that if you do ear irrigation at home, you will have no physical inspection before or after the procedure to check for problems before or after.
What to Do If Ear Irrigation Doesn’t Help
Ear irrigation is often performed to remove earwax buildup if it is causing problems such as difficulty hearing or earache. Your doctor can perform ear irrigation in their office, or you can do it at home. Before you opt for ear syringing, consider the pros and cons listed above.
If you have had professional ear irrigation or you have performed one at home, and you are still having difficulty hearing, you may benefit from a hearing screening test. You can take FreeHearingTest.org's free phone hearing screening test. It happens over the phone in the comfort of your own home from either a landline or a mobile phone. The test takes less than five minutes to complete.
Taking a free hearing screening today can give you a better understanding of your hearing health and could be the first step to a better quality of life. As well as taking a free hearing test over the phone, you can take a free online test at MDHearingAid.

Corinna Underwood
Freelance Writer
Corinna Underwood is uprooted from the UK and transplanted in the USA. She has been writing about health and wellness for twenty years. She also writes mystery novels.